 Skip to content
Your home’s water heater is a crucial component of keeping your comfortable standard of living. If you put it in your laundry room, it makes sense. Sadly, water heaters don’t exactly have a beautiful appearance. Even if you organize the laundry room in an aesthetically acceptable fashion, they are bulky and tend to attract attention. You must thus be pondering how to cover water heater in the laundry room.
A room divider can quickly and effectively obscure the perspective of the water heater if you are looking for an easy and affordable option. A simple, inexpensive approach is to hang curtains from your ceiling. Making a cabinet for your water heater not solely hides it but also adds a shelf for extra storage.
Fortunately, you can conceal the large apparatus using a variety of high-quality materials. I have gathered suggestions about how to accomplish this in a secure, efficient, and appealing manner. To learn more, continue reading below!
Ways Of Hiding Water Heater in The Laundry Room
Although your water heater may not be the most visually appealing piece of furniture in your house, your family values its use immensely. Why not try to make the area more aesthetically pleasing while getting rid of the eyesore? There are numerous methods for concealing an unsightly water heater.
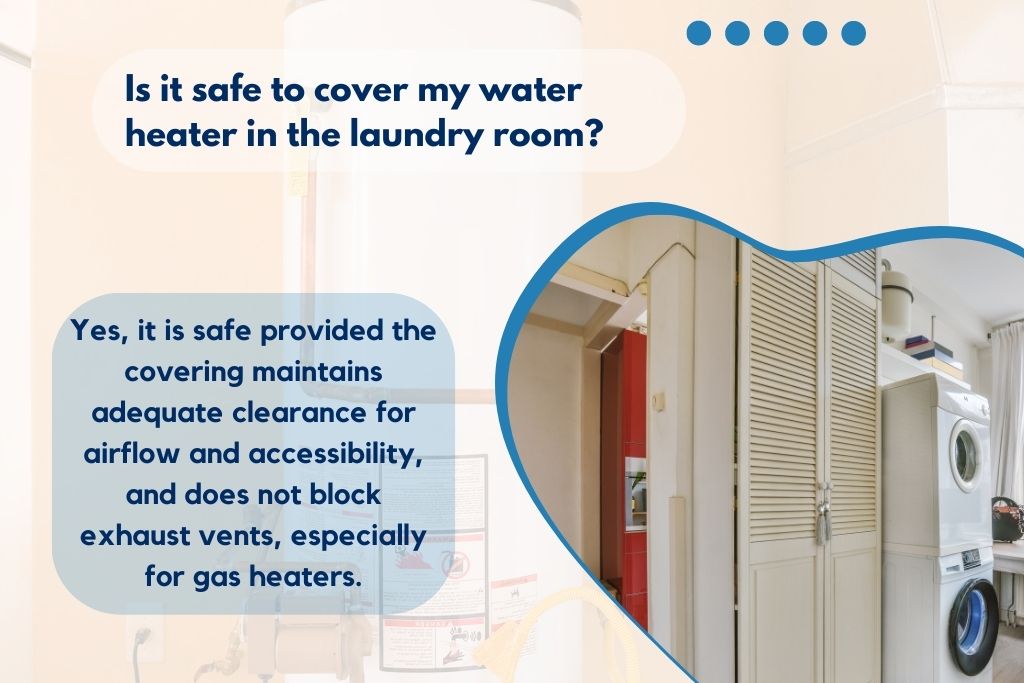
Always be careful not to place items too close to water heaters as this will obstruct airflow and pose a fire risk. Keep your water heater at least 8 inches away from your enclosure as a general guideline.
A water heater can be an eyesore if it pops out from other parts of your area, but there are some elegant ways to hide one. A room divider can easily and successfully block your point of view of the water heater if you want a simple solution.
You should experiment with interior design ideas if you want your laundry room to appear more inviting. The covering must, however, be checked to make sure it won’t harm the water heater. Particularly with heating appliances, functionality should not be sacrificed for appearances.
Since water heaters are frequently quite large, you must make sure the covering can hold it. A space allowance must be made when erecting a ‘hard’ covering, such as a closet or box panel, to ensure that the heater won’t be crammed in.
Make sure that any soft fabric coverings, like curtains, you use don’t trap too much heat. To allow air to easily move, leave spaces above and below.

Method 1: Room Divider Usage
1. Determine the water heater’s height:
Your water heater’s complete height can be measured by starting your measuring instruments at the bottom and extending it up the entire unit. If you also wish to hide any pipes that stick out from the highest point of the water heater, take their height into account. Right away as you take your measurement, record it so you won’t forget.
- You can measure the water heater’s width and depth, but these dimensions are less crucial than the height because a room divider may be adjusted for length.
2. Purchase a room divider that conceals your water heater entirely:
Shop online or at a home goods store for multi-panel dividers for rooms that will fit your area. Find one that can wrap around the edges and is sufficiently tall to hide the water heater. To avoid making a divider stick out or appear out of location in your area, look for a divider that complements the style of the rest of the space.
- You might need to purchase more than one room divider if you can’t find one that can completely enclose the water heater.
- Room partitions can be created using a variety of materials and styles. Select the option that best fits your room.
3. Place the room divider all the way around your water heater:
To prevent it from toppling over, lift the room divider into place and draw the panels apart. Place the divider so that one edge is up against the wall, about 6 inches (15 cm) in the direction of the water heater. When you can no longer see the water heater, pull the divider’s other end to expand and wrap it over it. Push the partition up against the wall each time you are attempting to get to the water heater.
Method 2: Putting Up Curtains to Enclose the Heater
1. Determine the water heater’s width and depth:
Tape a measuring device to one wall and extend it until you reach the heater’s outside edge. To ensure that the curtain provides some gap between it and the water heater, measure your area, and add around 4-5 inches (10-13 cm). Measure the depth from the heater’s second wall to where it reaches the farthest. To provide a safety margin, increase the measurement by another 4-5 inches (10-13 cm).
- To avoid creating a fire hazard, avoid installing your curtain such that it hits the water heater directly.

2. Determine your ceiling’s height:
Your water heater’s vicinity is a good place to start your tape measure. Pull the tape measure straight up until you touch the ceiling. If the tape is not absolutely vertical, the measurement you make will be inaccurate. To ensure that you don’t forget your measurements and to determine the amount of time your curtain should be, write it down.
3. Purchase a curtain track for the ceiling that is exactly the same length as the width plus the depth:
You can suspend a curtain from the ceiling using a metal item called a curtain track. Get an overall length of the track that is the same width as your ceiling and the total length that you measured. Get angled corner parts of the track if you are looking for your curtain to completely encircle the water heater.
- Online retailers and home goods stores both sell curtain tracks.
- Use a knife to trim the track into manageable pieces if you can’t find the precise length you need.
4. Attach a curtain track to the ceiling using screws:
Place the first track section’s end against the wall so that it protrudes past your water heater. Before inserting bolts into the openings along the track on the ceiling, make sure it is straight. To keep the track in place, tighten the screws using an electric screwdriver.
5. Attach the curtain hooks to the initial section of the track:
Use curtain glider connectors that are the appropriate width for your track. Push them towards the end of the track by inserting the hook’s round end. As soon as you complete the remaining portion of the track, it becomes more difficult to add hooks, so add as many as necessary for your curtain.
- Hooks come in a variety of sizes and shapes, and you can get curtain roller hooks from furnishings stores or online.
- Purchase hooks that blend in with the remaining components of your room’s hardware, so they don’t stand out too much.
6. Put in the remaining curtain track:
Place the tracks on the ceiling so that they completely encircle your water heater. Insert bolts into the holes throughout the length of the track sections while holding them against the ceiling. Before utilizing your electric screwdriver to hold the track ends in place, make sure the ends of the track align with the component you previously inserted.
- If your curtain must go all the way around in a corner, you might need to use a piece of track that is inclined.
7. Use the hooks to hang a floor-length curtain:
To completely conceal your water heater, choose a drape that is exactly the same level as your ceiling. Spread the curtain out around the track and insert the hooks into the holes at the top edge. Once all of the hooks are in place, moved the curtain down the rail to hide the water heater.
- To avoid standing out or clashing with the various designs in your room, choose a curtain that suits them.
- You may utilize hem tape to make your curtain shorter if it is just a little taller than what you want it to be.
Method 3: How to Install a Faux Cabinet
1. Determine the water heater’s height, breadth, and depth:
Your water heater’s floor should be where you position your tape measure, and you should extend the tape all the way to the top corner. Then calculate the distance between your water heater and each adjacent wall. For extra room around the heater, multiply each measurement by about 2-3 inches (5.1-7.6 cm). To avoid forgetting your measurements later, write them down.
2. Cut boards that are 1 in. x 4 in. (2.5 cm. x 10.2 cm.) to your measurements:
Get enough lumber measuring 1 in. x 4 in. (2.5 cm. x 10.2 cm.) to cut out 5 pieces that are the same height as you, 3 pieces that are the same width, and a pair of pieces that are the same depth. So that the piece you are carving hangs over the edge, place your boards on a stable work surface. With your non-dominant hand, hold the wood in place while using a handsaw to chop through the pieces.
- For instance, you would require 5 pieces that are 130 cm long, 3 pieces that are 46 cm, and 2 pieces that are 46 cm long if the cabinet’s measurements are 50 by 1that8 by 18 inches (127 46 46 cm).
- This cabinet is designed to be used with a corner water heater. If your water heater is not in a corner, you will need six pieces that are the same height as it is, four pieces that are the same width, and two pieces that are the same depth.
3. Create two rectangular frames out of the boards for your cabinet:
Lay out two planks for the cabinet’s height, and then place two boards perpendicularly between them for the width. Ensure that the top board’s length has been flushed with the board’s side end. Place the second board with the bottom of each of the side pieces being 3 to 4 inches (7.6 to 10.2 cm) apart from it. The pieces should be screwed together to create a rectangular frame with two legs sticking out at the bottom. For the second frame piece, repeat the procedure.
- Gas water heaters may result in a buildup of hazardous gas if they are sealed, therefore always leaving space between the bottom of the frame and the floor.
- These frameworks surround a water heater that is located in the room’s corner. Make 3 frames instead if your water heater is not in the corner.
4. Use plywood to cover the substantial middle part:
Once the frame is put together, measure the inside of each panel’s window, and add 2.5 centimeters to each side. Using a handsaw or table saw, trim 14-inch (0.64 cm) plywood pieces to the desired size. Place the panel on a single side of the framework and secure it with staples along the plywood’s outer edge. To keep it in place, staple the edge every 2 inches (5.1 cm).
- If you would like your cabinet to be more decorative, you may also use cloth.
5. To create an L-shaped frame, connect the frames into place at the corner:
Place the frames at a correct angle while supporting them on their legs. The wood parts should be screwed together and clamped together to prevent movement. A screw should be placed every 4-5 inches (10–13 cm) to prevent the cabinet from falling apart.
- To create a U-shaped cabinet for a water heater that cannot be in the corner, add a third frame to your existing cabinet.

6. Attach a cabinet’s rear support leg:
The final short piece should be clamped to the cabinet’s top corner and secured with an angle bracket. To keep the short piece in place, screw the final long section of wood you cut onto the end. When the cabinet is constructed, the second leg will provide more stability, allowing you to place a greater load on top of it.
- If you don’t want to, you don’t have to add a second leg, but make sure you don’t keep anything heavy on top of the cabinet.
- If you constructed a cabinet with three sides, do not add an extra wooden leg.
7. Attach wood planks or plywood to the cabinet’s top using nails:
In order to cut out the top piece, measure the size of your cabinet’s top. Either numerous 1 in. x 4 in. (2.5 cm. x 10.2 cm.) planks or just one sheet of plywood are acceptable options. To secure the top piece in place, cut the pieces to the appropriate sizes, then hammer nails every 4 inches (10 cm) around the edge of the cabinet.
- Check that your cabinet’s top does not interfere with any pipes, or it could fail to fit properly in the available area.
8. To conceal your water heater, place the cabinet over it:
Make sure the two paneled sides of the cabinet are facing out and that the open end is towards the water heater. Move your cabinet slowly over the water heater. Put boards or planks on top of the cabinet to serve as a shelf for storing objects in the space.
- If your water heater cabinet is located in the laundry room, for instance, you might place detergents and other laundry materials on top.

Conclusion
Since the laundry room is one of the busiest rooms in the house, it makes sense that you would want it to seem as attractive as possible. Make sure the covers are simple to open as necessary but should not sacrifice functionality.
The best approach to guarantee that the front cover won’t damage the heater is to hire a qualified contractor. Additionally, it will increase the cover’s durability, enhancing the beauty of your laundry room over time.

Hello there! As the wordsmith and laundry aficionado behind LaundryFitIn, I’ve turned a lifelong passion for clean clothes and tidy spaces into an art form. Did you know the average person spends nearly 6 months of their life doing laundry?
Well, I’m here to make that time count! Drawing on years of experience, I weave together tales of laundry triumphs and home organization, crafting tailor-made solutions for laundry rooms of all shapes and sizes.
When I’m not working on my latest DIY project or exploring a new detergent blend, you’ll find me writing articles and guides for LaundryFitIn.com, your ultimate resource for making laundry less of a chore and more of a joy.
So, let’s conquer those laundry mountains together, one sock at a time!
